
In today’s digital world, screenshots have become an indispensable tool for communication, documentation, and sharing information quickly and effectively. Whether you’re capturing a funny meme, saving an important receipt, or troubleshooting a technical issue, knowing how to take a screenshot on your Android device is a fundamental skill. This comprehensive guide will equip you with the knowledge to master the art of screenshots, exploring various methods, advanced techniques, and hidden features available on your Android phone or tablet.
From basic screenshot capturing techniques to utilizing advanced features like scrolling screenshots and partial captures, this guide covers everything you need to know. We’ll delve into the standard button combinations, gesture-based methods, and even explore using voice commands to take screenshots on your Android device. Learn how to effectively manage, edit, and share your captured images, transforming you into a true screenshot expert on the Android platform. Prepare to unlock the full potential of screenshots and elevate your Android experience.
Understanding Your Android Device’s Screenshot Functionality
Before diving into the various methods of capturing screenshots, it’s essential to understand the underlying functionality. A screenshot, in its simplest form, is a digital image that captures the content displayed on your screen at a specific moment. Your Android device utilizes its software and hardware in conjunction to achieve this.
The system takes a snapshot of the current screen’s pixel data and saves it as an image file, typically in PNG or JPG format. This process is triggered by specific actions, such as button presses or gestures, which we’ll explore in detail later.
Understanding that the screenshot captures only what’s visually displayed is crucial. Elements like pop-up notifications might not be captured if they disappear before the screenshot is processed. Similarly, secure screens, like those used during mobile payments, are often protected from being captured for security reasons.
The location where screenshots are saved can vary depending on your device’s manufacturer and Android version. Typically, they are stored in a dedicated “Screenshots” folder within your device’s internal storage or SD card.
Exploring the Default Screenshot Methods
Most Android devices offer a straightforward approach to capturing screenshots using built-in software features. These default methods provide a quick and easy way to document what’s on your screen without needing third-party apps or complex button combinations.
Typically, the most common default method involves the Power and Volume Down buttons. Simultaneously pressing and holding these buttons for a brief moment usually triggers a screenshot. You’ll hear a shutter sound (if enabled) and see a visual confirmation, such as a brief animation or a screenshot preview appearing on the screen.
Another default method leverages the Quick Settings panel. Accessing this panel, often by swiping down from the top of the screen, reveals a collection of icons. Look for a Screenshot icon. Tapping this icon instantly captures the content displayed on your screen.
The availability and specific implementation of these default methods might vary slightly depending on the Android version and device manufacturer. Consulting your device’s user manual or online resources can provide specific guidance if necessary.
Utilizing Hardware Button Combinations for Screenshots
The most common method for capturing screenshots on Android involves using a combination of hardware buttons. While the exact combination might vary slightly depending on the manufacturer and Android version, the underlying principle remains consistent.
Typically, you need to press the Power button and the Volume Down button simultaneously for a brief moment. You’ll hear a shutter sound (if your sound is enabled) and see a visual confirmation, such as a brief animation or a screenshot preview appearing on the screen. This signifies a successful capture. Some older devices might require pressing the Power button and the Home button together.
It’s crucial to press both buttons at the same time. Holding the buttons for too long might trigger other device functions, such as powering off the device or activating the Google Assistant. Practice a few times to get the timing right.
Consulting your device’s user manual or performing a quick online search specific to your device model will provide the precise button combination if you’re unsure.
Taking Screenshots with Gestures and Motions
Many Android devices offer gesture-based screenshot functionality, providing a convenient alternative to button combinations. These gestures often involve a simple swipe or a specific touch action on the screen. The availability and specific gesture depend on your device’s manufacturer and Android version.
Three-Finger Swipe: Some devices, notably those from manufacturers like OnePlus, Oppo, and Vivo, allow taking screenshots with a three-finger swipe down the screen. This method is often quick and intuitive.
Palm Swipe: Samsung devices frequently feature “Palm swipe to capture” functionality. This involves swiping the edge of your hand across the screen from edge to edge to trigger a screenshot. This feature needs to be enabled in your device’s settings.
Knuckle Gestures: Certain Huawei devices utilize knuckle gestures for screenshots. For example, a double-knuckle tap can capture the screen, while drawing a closed shape with your knuckle can capture a specific portion of the screen.
To determine if your device supports gesture-based screenshots and to learn the specific gesture required, navigate to your device’s settings, typically under “Advanced features,” “Accessibility,” or “Motion and gestures.” Look for options related to screenshots or screen capture.
Advanced Screenshot Techniques: Scrolling and Partial Screenshots
Beyond basic screenshots, many Android devices offer advanced features like scrolling screenshots and partial screenshots. These tools allow for capturing more than what’s immediately visible on your screen.
Scrolling Screenshots
Scrolling screenshots, also known as extended screenshots, are ideal for capturing long web pages, articles, or conversations. After taking a standard screenshot, look for a button or option labeled “Scroll” or “Capture more.” Tapping this will extend the screenshot downwards, capturing the remaining content. The availability and functionality of this feature may vary depending on your device’s manufacturer and Android version.
Partial Screenshots
Some Android devices allow you to capture only a specific portion of your screen. This is useful for sharing only relevant information or cropping out unnecessary elements. Look for an option like “Partial screenshot,” “Crop,” or a similar term after taking a standard screenshot. You’ll then be able to select the area you want to capture.
Third-Party Screenshot Apps and Their Benefits
While built-in screenshot functionality is generally sufficient, third-party apps can offer extended features and customization options. These apps often provide advanced editing tools, scrolling capture capabilities, and various sharing options, enhancing your screenshot experience.
Benefits of using third-party screenshot apps often include:
- Scrolling screenshots: Capture entire webpages or long documents in a single image.
- Advanced editing tools: Annotate, crop, blur, and add text or shapes to your screenshots with ease.
- Customizable shortcuts: Trigger screenshots with gestures or button combinations tailored to your preferences.
- Integrated sharing options: Quickly share screenshots to specific apps or social media platforms directly from the app.
- Cloud storage integration: Automatically back up and organize your screenshots in the cloud.
Exploring these apps can unlock powerful screenshot capabilities beyond the standard Android features, streamlining your workflow and enhancing productivity.
Editing and Sharing Your Screenshots: Tips and Tricks
After capturing the perfect screenshot, Android offers a variety of tools to refine and share it. Most devices provide quick access to editing tools immediately after taking a screenshot. These often include cropping, marking up with annotations, and adding text.
For more advanced edits, utilize your phone’s built-in photo editor or a third-party app. These allow for adjustments to brightness, contrast, and saturation, as well as adding filters and stickers. Explore these options to personalize and enhance your screenshots.
Sharing is equally straightforward. The share sheet, accessible from the screenshot notification or within your gallery app, presents numerous options. Quickly send screenshots via messaging apps, email, social media, or cloud storage services.
Pro Tip: Consider organizing your screenshots into folders for easier retrieval later. Most gallery apps allow for folder creation and organization.
Troubleshooting Common Screenshot Issues
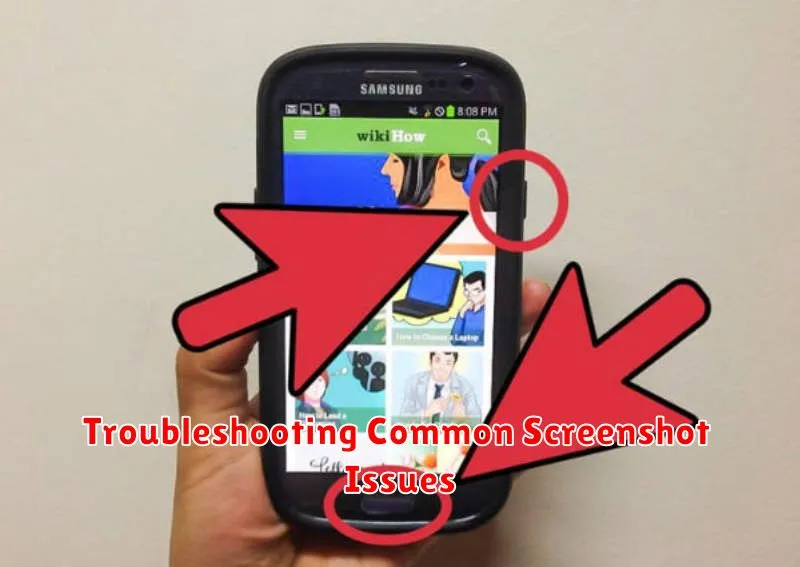
Occasionally, you might encounter issues when attempting to take screenshots. Here are some common problems and their solutions:
Inability to Take Screenshots
If you’re unable to capture a screenshot, it might be due to security restrictions. Certain apps, particularly those handling sensitive information like banking or DRM-protected content, might block screenshot functionality. This is a security measure to protect your data.
Storage Issues
Insufficient storage space can also prevent screenshots from being saved. Check your device’s available storage and delete unnecessary files if needed.
Device-Specific Problems
Some devices might have unique hardware or software configurations that affect screenshot functionality. Consult your device’s user manual or contact the manufacturer’s support for assistance if you suspect a device-specific issue.
Screenshot Quality Issues
If your screenshots appear blurry or pixelated, ensure your screen is clean and free of smudges. Also check your display settings to make sure the resolution is set appropriately.
Customizing Screenshot Settings
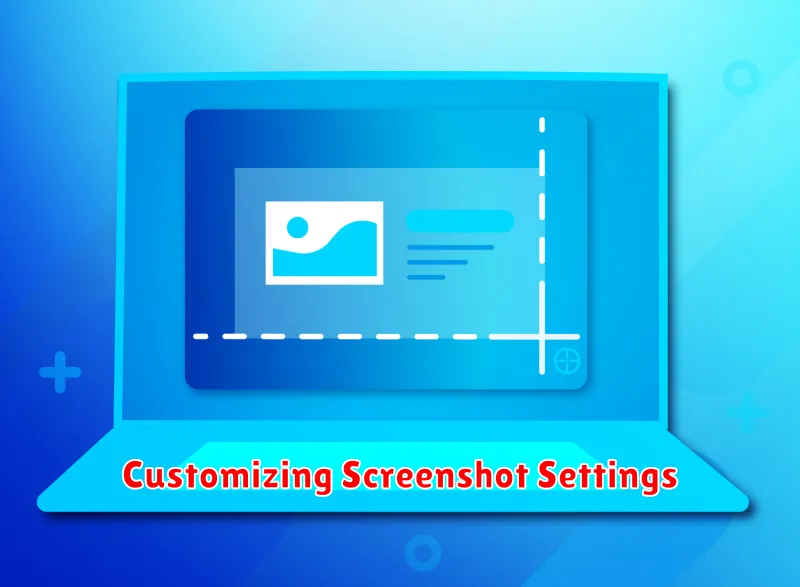
While the basic screenshot functionality is generally consistent across Android devices, some manufacturers offer options to customize aspects of the screenshot process. These settings can usually be found within your device’s main settings menu, often under “Display,” “Advanced Features,” or a similarly named section. The availability and specifics of these settings vary depending on your device’s manufacturer and Android version.
Common customizable settings include:
- Screenshot File Format: Some devices allow you to choose between PNG and JPG. PNG generally offers better image quality, while JPG results in smaller file sizes.
- Storage Location: You may be able to specify the default save location for your screenshots.
- Screenshot Sound: This setting allows you to enable or disable the sound effect that plays when a screenshot is captured.
- Screenshot Preview: Some devices display a small preview of the captured screenshot after it’s taken. This preview often allows for quick editing and sharing options.
Exploring your device’s settings menu is the best way to discover the specific customization options available to you. By adjusting these settings, you can optimize the screenshot process to best suit your needs and workflow.